You don’t need to wash clothes before dry cleaning, and honestly, it’s usually counterproductive since dry cleaning solvents work best on unwashed items. However, you should remove surface dirt, empty pockets completely, and gently spot-treat fresh stains by blotting with a clean cloth. Always check that care label first – ignoring “dry clean only” can lead to irreversible damage that’ll make you cringe. Understanding these preparation basics will transform your dry cleaning experience entirely.
Understanding When Pre-Washing Is Necessary
Why do we always assume we need to prep everything perfectly before handing it over to the professionals?
Honestly, most clothes don’t need pre-washing before dry cleaning – that’s literally what you’re paying for!
However, there are times when a little preparation helps your dry cleaner work magic more effectively.
If you’ve got stubborn stains that keep you up at night, pre-treating those spots can make all the difference.
Delicate fabrics and fancy embellishments deserve extra attention too, since they’re more vulnerable during the cleaning process.
Here’s your golden rule: always check the care label first for any specific instructions before making assumptions.
Sometimes manufacturers know their fabrics better than we do! 😊
Pre-washing can actually set certain stains permanently, making them impossible for even professional dry cleaners to remove.

What You'll Get: One 22oz spray bottle of Shout's Prewash Active Enzyme Stain Remover Spray. Bottle, excluding trigger & label, made of 25% Post Consumer Recycled plastic!

ADVANCED CARPET PRETREATMENT SPRAY: Carpet Pretreat Spray is a Power Booster for Capture Carpet and Rug Dry Cleaner to lift out new and old stains, remove spots and spill & neutralize odors, leaving carpet soft and smelling fresh.

One 6.2 fl oz OxiClean Max Force Laundry Stain Remover Gel Stick tackles your stubborn and dried-in laundry stains
Reading Care Labels Before Making Decisions
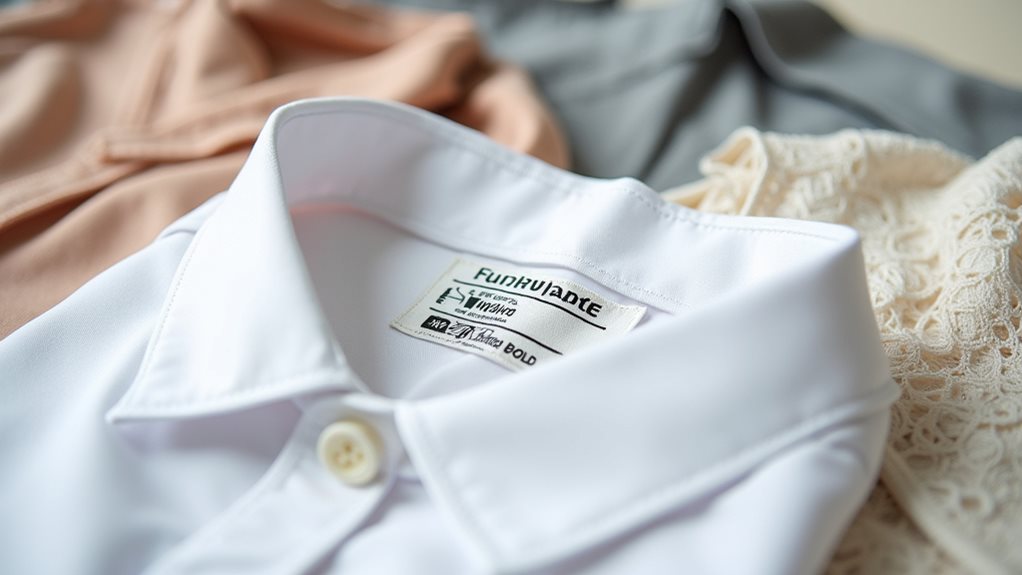
Before you make any cleaning decisions, you’ll want to become fluent in reading those tiny care labels that manufacturers tuck inside your garments, because they’re fundamentally your roadmap to keeping your clothes looking their best.
I learned this lesson the hard way when I ignored a “dry clean only” tag on my favorite blazer and ended up with something that looked like it belonged in a child’s wardrobe 😅, so now I always check those symbols first.
Understanding these fabric-specific instructions, from the cryptic washing symbols to temperature guidelines, will save you from costly mistakes and help you determine whether pre-washing is even an option for your particular garment.
Pay special attention to the difference between “dry clean only” and “dry clean recommended” labels, as the former mandates professional cleaning while the latter gives you more flexibility in your cleaning choices.
Understanding Label Symbols
When I first started doing my own laundry, I’d stare at those tiny care labels like they were written in hieroglyphics, completely mystified by the cryptic symbols that seemed designed to confuse rather than help.
Now I realize these care instructions are actually your garments’ survival guide, and understanding them prevents those heartbreaking “oops, I shrunk my favorite sweater” moments.
The circle symbol means dry cleaning only – don’t even think about tossing it in your washing machine. A hand in a tub indicates gentle hand washing, while a machine symbol gives you the green light for regular washing.
Temperature dots or numbers tell you exactly how hot the water should be, protecting delicate fabrics from heat damage that’ll leave you crying over ruined clothes.
Pay special attention to care labels on delicate fabrics like silk, wool, and cashmere, as these materials are particularly susceptible to damage from water and heat.
Fabric-Specific Care Instructions
How do you know whether that gorgeous silk blouse actually needs professional dry cleaning, or if you can save money by gently washing it at home? The secret lies in decoding those care tags like a detective solving a mystery.
Here’s your fabric care roadmap:
- Look for “dry clean only” on delicate fabrics like silk, wool, and cashmere.
- Cotton and polyester typically handle home washing beautifully.
- Vintage or embellished pieces often require professional attention.
- Test colorfastness on “dry clean” (not “only”) items before washing.
I’ve learned this lesson the hard way after shrinking my favorite sweater! 😅
Each delicate item tells its own story through washing instructions, and understanding these fabric-specific needs means your clothes will thank you with longer, more beautiful lives. Professional dry cleaning uses specialized solvents and techniques that simply cannot be replicated in your home washing machine, making it the safest choice for preserving expensive garments.
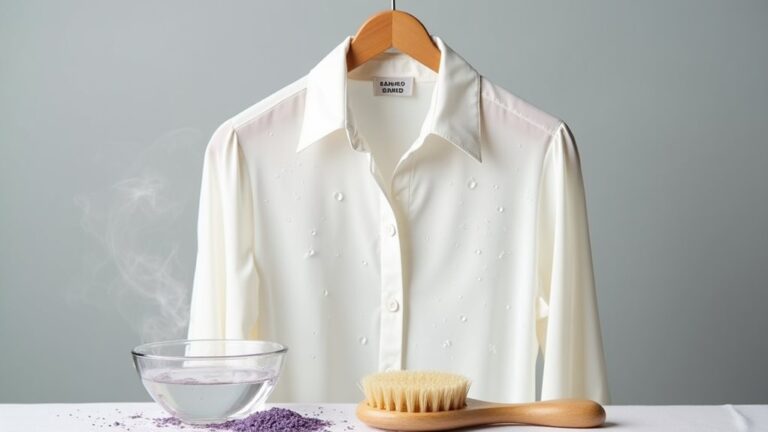
Identifying Fabrics That Benefit From Pre-Treatment
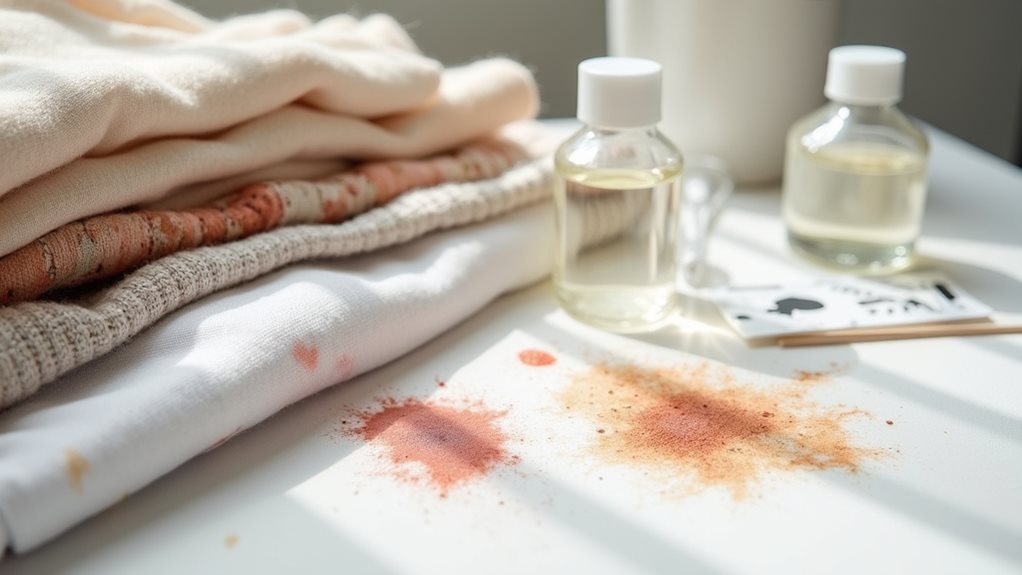
You’ll want to pay special attention to fabrics like silk, wool, and cashmere, since these materials can be surprisingly stubborn when it comes to releasing stains during the dry cleaning process alone.
I learned this the hard way when my favorite silk blouse came back from the cleaners with a wine stain still faintly visible, because I’d assumed the professionals would handle everything without any prep work on my part.
Before you hand over your garments, it’s worth identifying which fabrics in your load are naturally stain-prone, and then testing a small, hidden area to see how they respond to gentle pre-treatment methods.
These delicate materials require chemical solvents rather than water-based cleaning to maintain their integrity and prevent damage like shrinkage or color bleeding.

Sonett has been a pioneer in natural laundry detergents and cleaners since 1977. Sonett’s mission is to make laundry soaps and cleaning products that are harmonious and revitalizing to water and the environment. Germany's most trusted household cleaning brand.

Trial Size 4-Ounce Bottle: Whether you are traveling and need a convenient size to bring along or you're new to Heritage Park and simply want to try it out (we understand commitment can be tough), with our highly concentrated formula, just a tablespoon is all you need to hand wash your favorite items.
Stain-Prone Fabric Types
These stain-prone fabrics typically need extra attention:
- Natural fibers like cotton and linen absorb liquids quickly, making stains set faster.
- Luxury materials such as silk and wool are notoriously difficult to clean once stained.
- Textured fabrics like velvet and corduroy trap particles in their fibers.
- Synthetic blends including polyester can bond with oil-based stains permanently.
When you’re dealing with delicate materials, proper pre-treatment becomes your best friend.
Identifying these vulnerable fabrics early helps you achieve the best cleaning outcome possible.
Professional dry cleaning uses specialized solvents that can effectively remove oil-based stains, grease, and makeup from these delicate fabrics without causing damage.
Pre-Treatment Testing Methods
Before I learned the hard way that my favorite silk blouse could survive a gentle spot test, I used to send everything remotely delicate straight to the dry cleaner without question, which honestly cost me a small fortune over the years.
Now I’m smarter about pre-treatment testing methods that help me decide what actually needs professional care.
You’ll want to test colorfastness by dabbing mild detergent on a hidden seam – if the dye bleeds, your dry cleaner becomes your best friend.
For delicate garments like wool sweaters or structured blazers, these simple tests reveal whether they’ll shrink or lose their shape at home.
Trust me, spending two minutes testing beats ruining a $200 dress! 😅
While testing at home can save money, it’s worth considering that traditional dry cleaning uses perchloroethylene (PERC), which has been linked to health concerns, so allowing freshly cleaned items to air out before wearing is always a smart precaution.
Removing Surface Dirt and Oils at Home
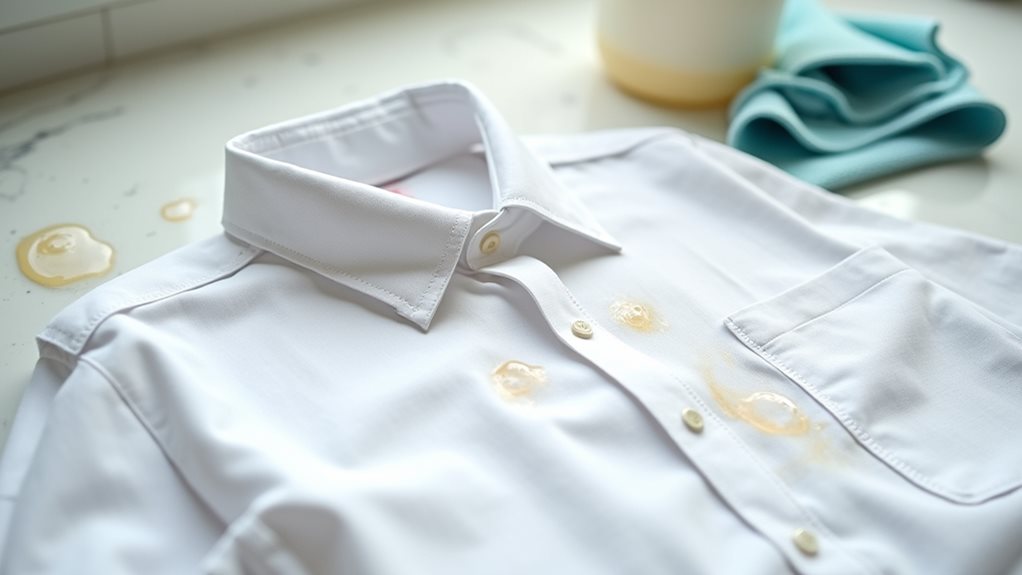
Why tackle surface dirt and oils at home when you’re already planning to take your clothes to a professional cleaner?
Well, it’s like giving your dry cleaners a head start, honestly – and trust me, they’ll appreciate the extra effort you put in beforehand.
Think of it as teamwork – you handle the easy stuff, they tackle the tough stains that need professional magic.
Here’s your game plan for preparing clothes at home:
- Gently hand wash lightly soiled areas with mild detergent to remove surface grime
- Spot clean visible stains before sending items to professional cleaners
- Remove loose debris and lint that could damage fabric during cleaning
- Focus on oil-prone areas like collars and cuffs where skin contact occurs
When you wash away that initial layer of dirt, you’re fundamentally helping dry cleaners work more effectively on stubborn, set-in stains that really need their expertise. This preparation is especially important because chemical solvents used in dry cleaning are most effective when they can focus on penetrating deeper stains rather than battling surface-level dirt and oils.

What You'll Get: One 8.7oz bottle of Shout Advanced Ultra Concentrated Stain Remover Gel with Built-in Scrubber Brush technology

EASILY REMOVES YEARS OLD STAINS: Save lost garments, much cheaper than the dry-cleaners. Safe on contact with skin. Baby clothes safe.

POWERFUL & FAST WORKING This lightning fast laundry stain remover spray is perfect for clothes, upholstery, and carpets.
Handling Delicate Materials Before Professional Cleaning
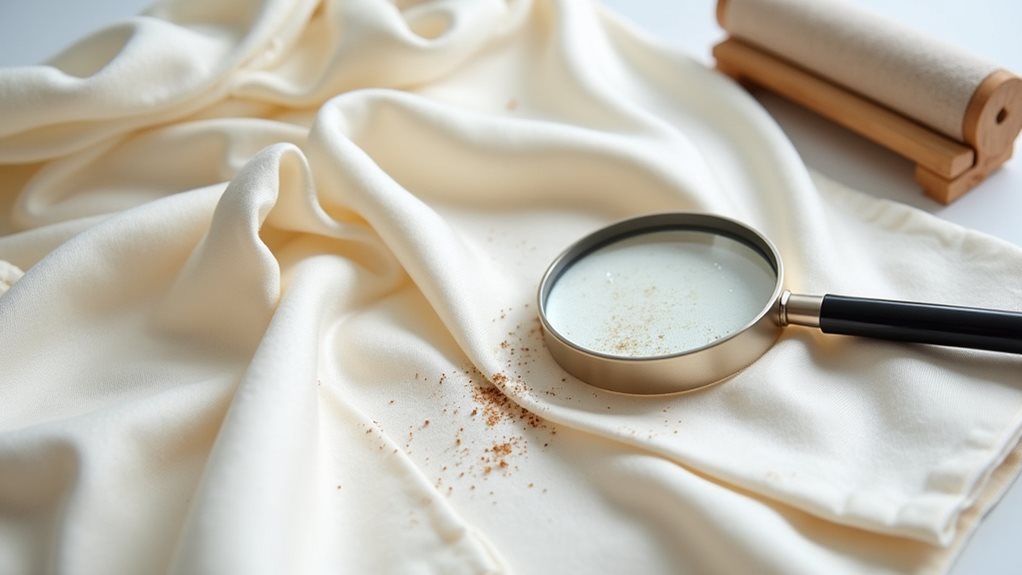
While surface cleaning works well for everyday fabrics, delicate materials like silk, cashmere, and vintage pieces require a completely different approach that honestly makes me a bit nervous every time I handle them.
You’ll want to inspect these precious garments carefully for pre-existing stains before they head to the dry cleaner, because certain stains can actually set deeper during the professional cleaning process – trust me, I’ve learned this the hard way with a beloved silk blouse.
Always check those care tags first, as they’ll guide any specific pre-cleaning steps needed.
If you spot something concerning, gentle spot treatment or simply pointing it out to your dry cleaner can make all the difference in preserving your delicate materials. 🤞
Pay special attention to any “do not dry clean” labels, as the chemical solvents used in professional cleaning can cause irreversible damage to certain fabrics and trims.
Managing Stains and Odors Prior to Drop-Off
Dealing with stains and odors can really throw you off your game, especially when you’re staring at that mysterious spot on your favorite blazer and wondering if you should tackle it yourself or let the professionals handle everything.
That sinking feeling when you discover a stain on your go-to outfit and debate between DIY fixes or professional help.
Here’s what I’ve learned about prepping clothes for dry cleaning:
- Spot treatment works wonders – gently blot fresh stains with a clean cloth, but don’t rub aggressively.
- Air out smelly garments – hang them outside for a few hours or use fabric refresher.
- Brush away surface dirt – a light brushing removes dust and improves overall appearance.
- Communicate with your cleaner – tell them exactly what caused each stain for better treatment.
While dry cleaning handles most issues, these simple steps can enhance your results considerably! 🧥
Remember that dry cleaning solvents work most effectively on unwashed items since washing can set stains and make them harder to remove.
Best Practices for Garment Preparation

Before I learned the ropes of proper garment preparation, I used to show up at the dry cleaner like I was dropping off laundry at my mom’s house – pockets stuffed with receipts, gum wrappers, and the occasional forgotten twenty-dollar bill that made my cleaner’s day.
Now I follow simple best practices that save everyone headaches. First, empty every single pocket completely, checking twice because forgotten pens can destroy your favorite blazer and expensive machinery.
Next, inspect each garment carefully for loose buttons, tears, or missing elements that need attention. Point out specific stains to your dry cleaner, describing what caused them if you know, since different stains require different treatments.
These small preparation steps guarantee your clothes receive the specialized care they deserve.