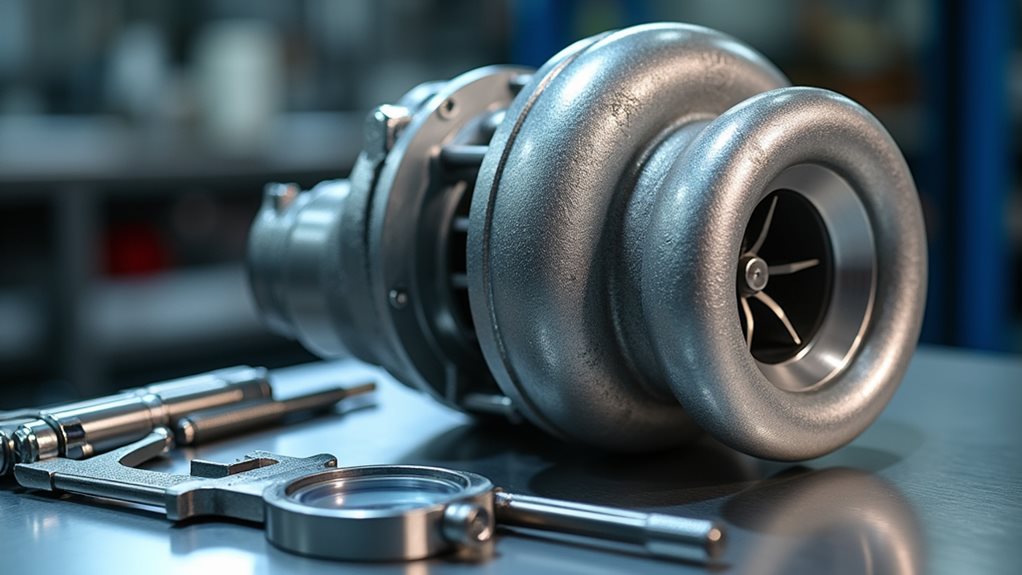
During turbocharger dry cleaning, you’ll want to keep your engine running at normal operating load while injecting abrasive granules through compressed air at 3-5 bar pressure—trust me, dropping that load creates thermal stress that’ll hurt more than help. Monitor your boost pressure and exhaust temps continuously, listening for unusual vibrations that signal trouble, then clear all passages afterward and inspect for wear patterns. There’s definitely more technique involved than you might expect.
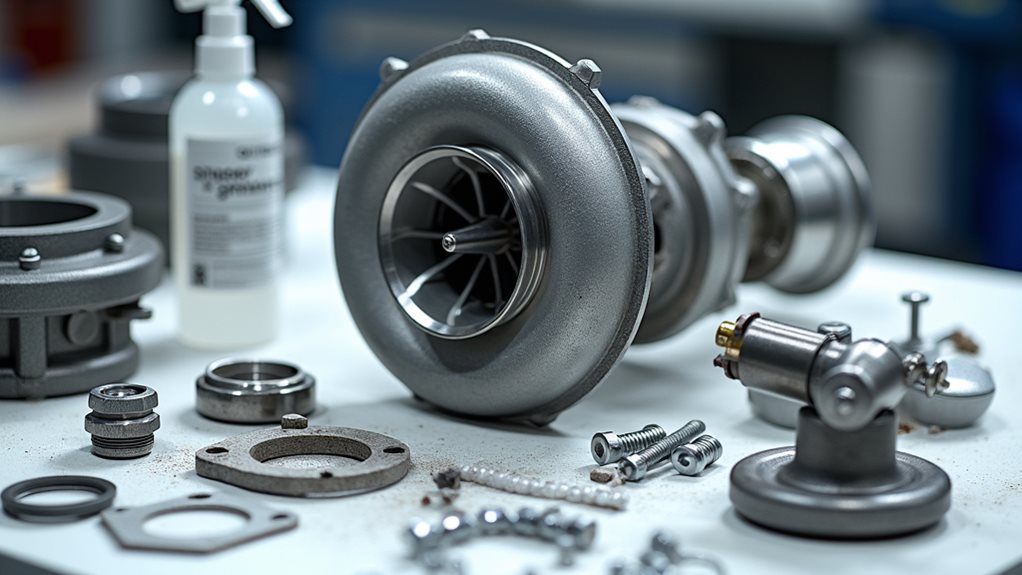
Pre-Cleaning Preparation and Safety Measures
First, you’ll want to make certain your engine’s running at normal load conditions before starting any dry cleaning process, as this prevents excessive airflow disruption while removing those stubborn carbon deposits.
Next, verify your compressed air equipment is properly calibrated and functioning correctly, because faulty gear can damage delicate turbocharger components faster than you can say “expensive repair bill.”
Always blow through the pipeline beforehand to confirm clear passages, and don’t forget your safety gear—gloves and eye protection are non-negotiable when dealing with flying debris during the cleaning process.
Engine Load and RPM Management During Dry Cleaning
When you’re ready to begin the actual dry cleaning process, maintaining your engine at its normal operating load becomes absolutely critical, because any deviation from standard conditions can throw off the delicate balance between cleaning effectiveness and component protection.
I’ve learned this lesson the hard way – reducing engine load during turbocharger washing creates thermal stresses that’ll make you regret shortcuts later!
Keep your engine rpm steady throughout the cleaning process, since airflow disruption leads to surging and backpressure issues that nobody wants to deal with.
The compressed air injection works best when your engine maintains regular operating conditions, maximizing kinetic energy to blast away stubborn carbon deposits without causing performance interruptions.
Trust me, consistent parameters during dry cleaning save headaches! 😊
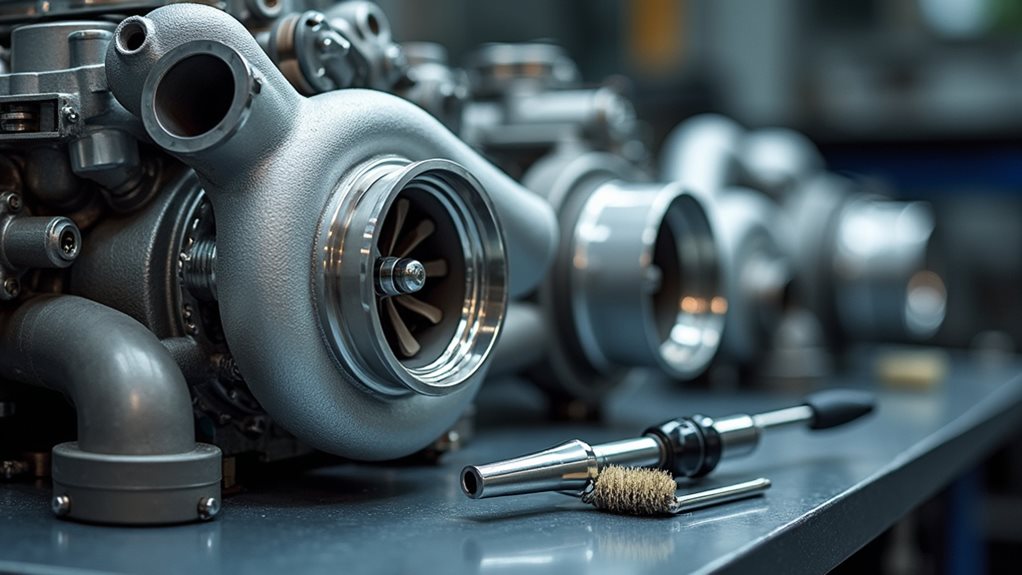
Granule Injection Process and Compressed Air System Operation
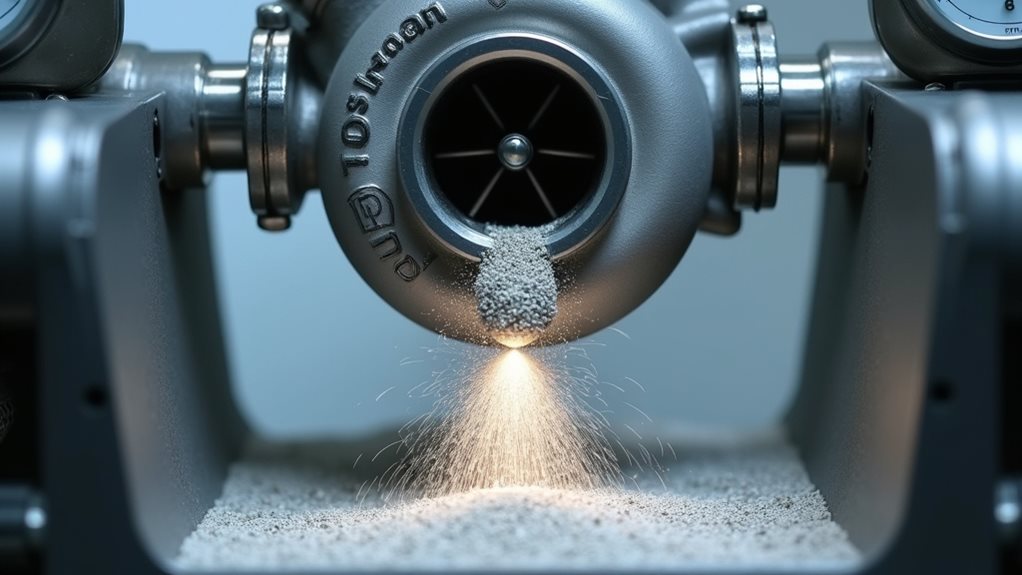
Once your engine parameters are locked in at ideal levels, the compressed air system becomes your primary weapon for delivering cleaning granules precisely where carbon buildup loves to hide in those hard-to-reach turbine passages.
You’ll want to maintain that 3-5 bar pressure range—trust me, I’ve learned the hard way that going too aggressive can actually damage delicate components 😅.
The beauty of this dry cleaning method lies in how the compressed air carries those carbon-fighting granules through every nook and cranny of your turbocharger without creating thermal stress.
Keep your engine speed steady during the cleaning process, because consistency here translates directly to efficiency.
Those clean passages you confirmed earlier? They’re about to become your carbon deposits’ worst nightmare.
Monitoring Turbine Performance Throughout the Cleaning Cycle
While those granules are doing their carbon-busting magic inside your turbocharger, you’ll need to become a detective, constantly watching for clues that tell the story of what’s happening deep within those spinning components.
Keep monitoring engine load religiously—I learned this the hard way when thermal stresses in dry cleaning once caught me off-guard 😅.
Engine load monitoring isn’t optional—thermal stress damage from overlooked readings will teach you this lesson the expensive way.
During turbocharger dry cleaning, track your performance metrics like boost pressure and exhaust gas temperature every few minutes, jotting them down because memory’s unreliable when you’re focused.
Listen for unusual vibrations that might signal turbine balance issues from stubborn carbon deposits breaking free.
Any airflow disruption can cause surging, so don’t let your attention wander while cleaning the turbocharger—those numbers tell everything.
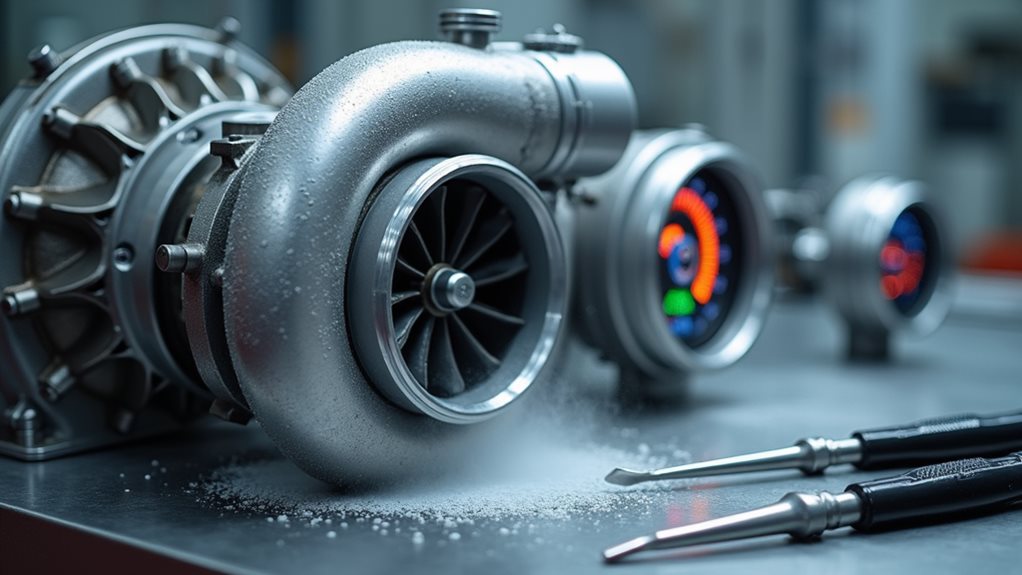
Post-Cleaning Inspection and System Verification
After all that careful monitoring pays off and your turbocharger’s cleaning cycle wraps up, the real detective work begins because what you can’t see might hurt you later.
Your post-cleaning inspection separates successful turbocharger maintenance from expensive repairs down the road, and I’ve learned this lesson through some costly mistakes 😅.
Here’s your crucial verification checklist:
- Clear all passages – Blow through pipelines to confirm no debris remains that could choke airflow
- Inspect for damage – Examine turbine and nozzle ring for wear patterns or cleaning-related issues
- Verify operation parameters – Check oil supply line integrity, pressure readings, and temperature readings against specifications
Monitor your turbocharger’s performance during initial operation, listening for unusual vibrations that signal installation problems, because proper efficiency depends on these final verification steps.